A model-aware Brother drum replacement guide covering product identification, the common toner-and-drum transfer sequence, reset branches, and post-install checks.
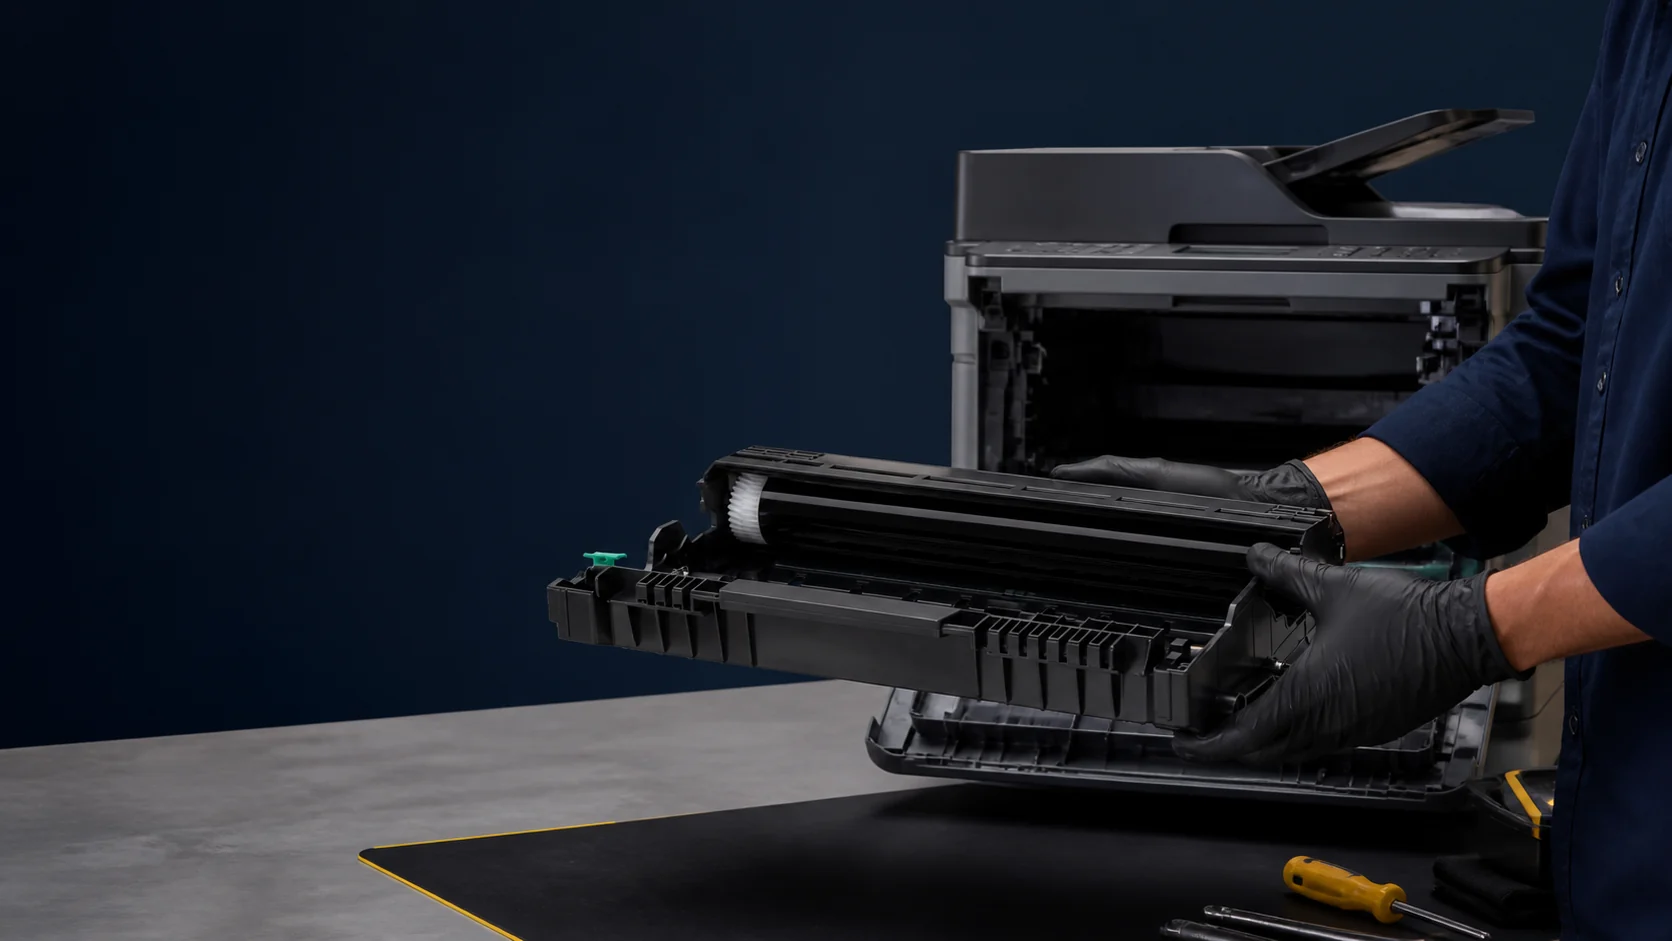
Replacing a Brother drum unit is often straightforward, but the correct procedure depends on the exact printer model, control panel, and consumable architecture.
Many monochrome Brother printers use a toner cartridge that locks into a separate drum unit. Some color models use one toner-and-drum pair for each color, while others use a larger drum assembly. Confirm the architecture before following any removal sequence.
Treat physical replacement and drum-counter reset as separate tasks. Install the correct new drum first; reset the counter only through the procedure documented for that exact model. A reset records the replacement. It does not renew a worn photosensitive surface.
Start with the Exact Model, Not the Error Message
Messages such as Replace Drum and Drum End Soon identify a maintenance condition, not the complete replacement specification. Brother can use different drum references, access covers, locks, and reset controls across machines with similar names. Order numbers can also differ by country. Read the rating label on the printer and record the complete model designation and market suffix. Then inspect the existing drum label, toner label, and the exact displayed message. Clear photographs are usually more reliable than a shortened model name copied into an email.
Three Common Brother Consumable Architectures
| Architecture | What usually moves | Why the model guide matters |
|---|---|---|
| Front-loading monochrome, separate toner and drum | The combined assembly comes through the front; the usable toner transfers to the new drum. | Lock levers, cover state, corona-wire step, and reset controls vary. |
| Per-color toner-and-drum pairs | The affected color assembly is removed from a top or front access point. | Color position and multiple corona-wire tabs may need confirmation. |
| Large color drum assembly or frame | Several cartridges, handles, locks, or a larger frame can move together. | A monochrome front-cover sequence can damage or mis-seat this architecture. |
Do not use the shape of a black plastic frame as the deciding evidence. A drum that looks close can differ in keyed geometry, contacts, gears, toner-cartridge fit, regional reference, or the printer family that accepts it. The official model list and the label evidence should agree before the package is opened. When several printers are involved, build the model-and-market list first and consolidate quantities second. This prevents a purchasing shortcut from turning several distinct drum references into one incorrect line item.
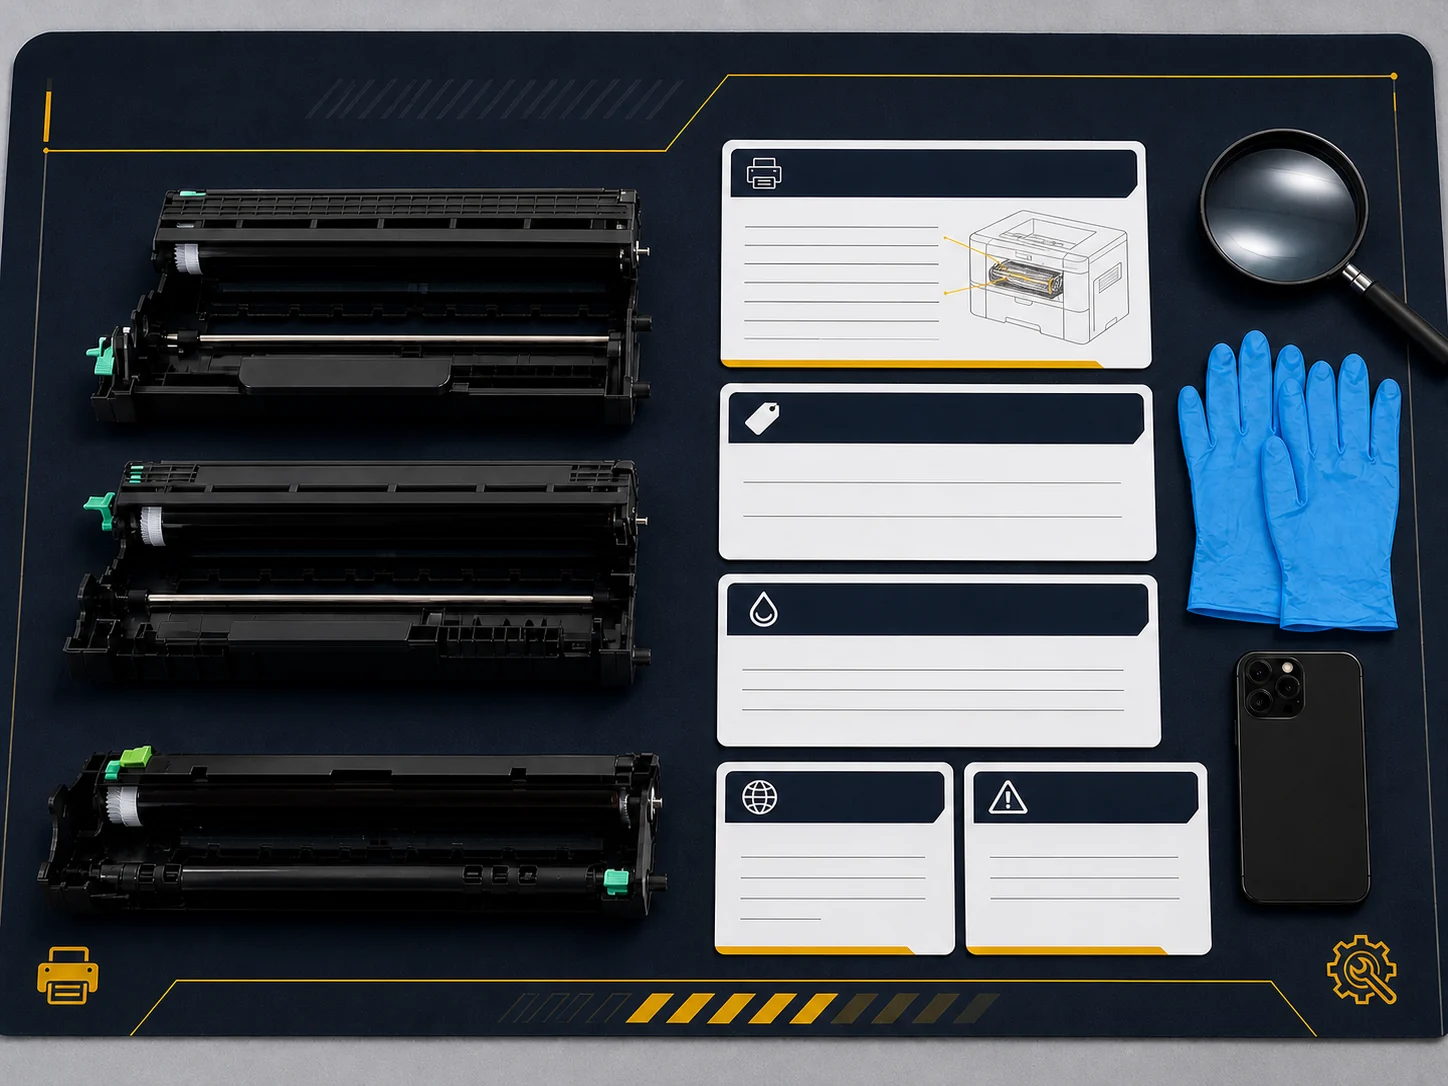
For the conceptual difference between toner and the drum, read What Is a Drum Unit? This guide focuses on the Brother replacement task.
Prepare a Clean, Model-Safe Work Area
- Open the official replacement instructions for the complete model and market before removing the installed assembly.
- Use a stable, clean surface with disposable paper or another protective sheet under the assembly.
- Unpack the new drum only when ready to install it. Brother warns that direct sunlight or prolonged room or artificial light can damage an unpacked drum unit.
- Follow the exact guide for power and cover state. All model families cited in this guide specify replacement with the machine powered on, but their reset cover states differ.
- Use the intended handles or molded sides. Do not touch the photosensitive drum surface or any electrodes or IC-chip surfaces marked as no-touch areas in the model instructions.
- Observe any hot-surface warning in the exact manual before placing hands inside the printer.
Common Sequence for a Front-Loading Monochrome Brother Printer
The following sequence applies only after you confirm a removable toner cartridge locks into a separate drum unit. If the machine has per-color assemblies or a large color drum frame, stop and use the exact illustrated guide instead.
- Confirm the new drum. Match the complete printer model, market, and official drum reference on the package. Similar appearance is not compatibility evidence.
- Open the specified access cover. On this common architecture it is usually the front cover, but the exact model guide controls.
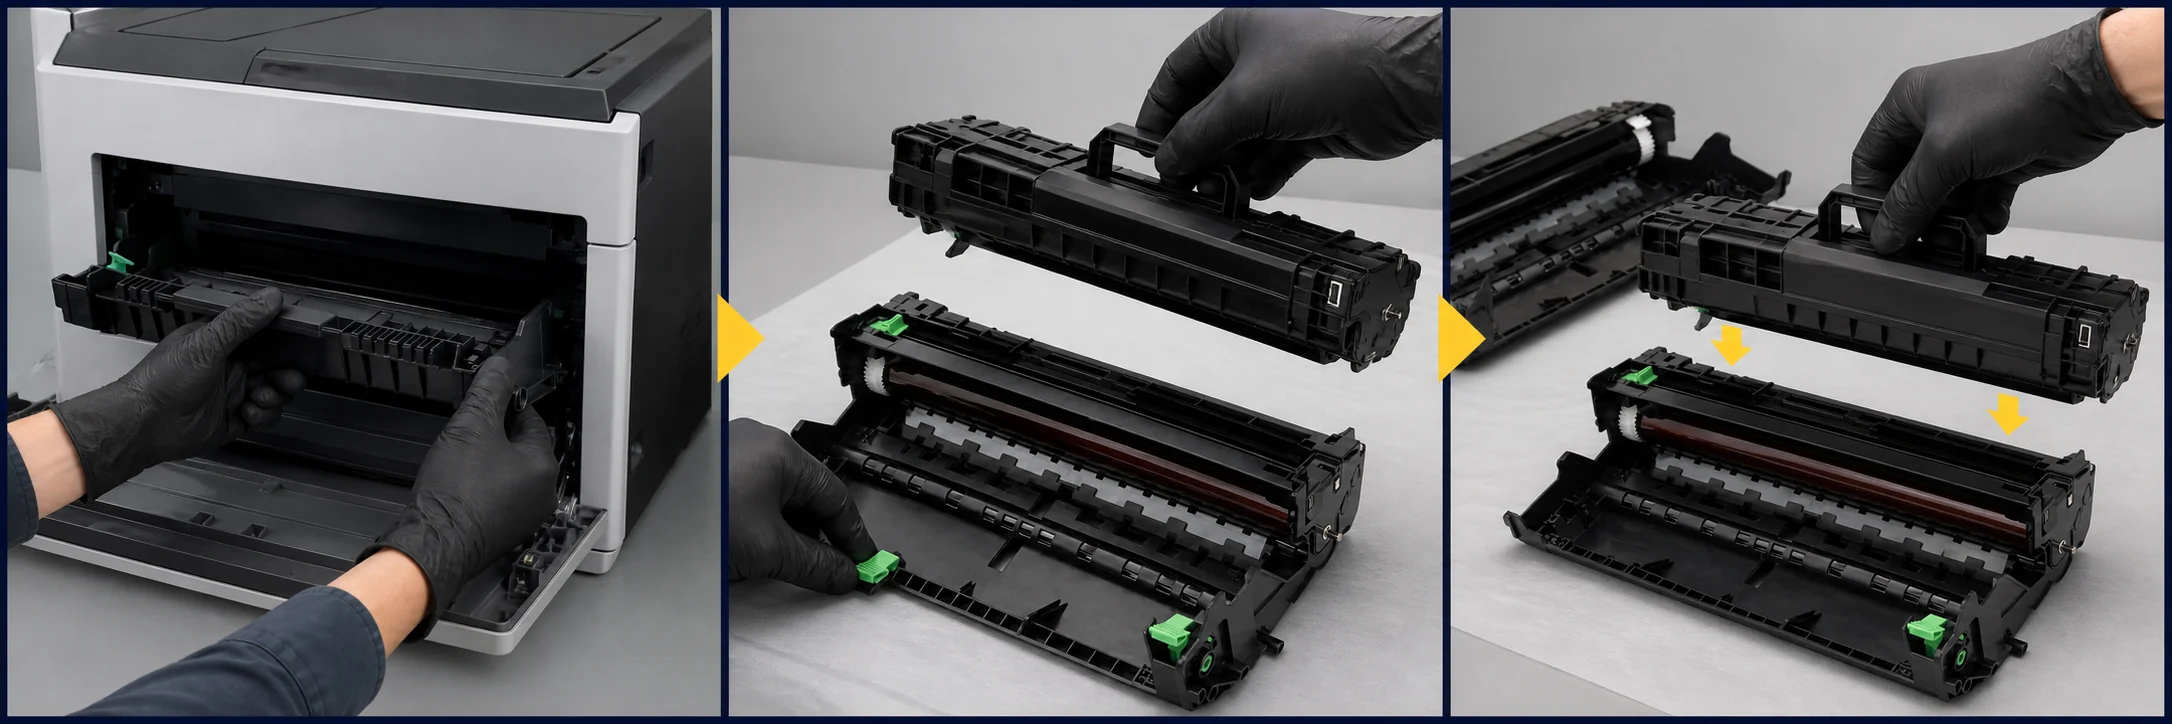
- Remove the combined toner-and-drum assembly by its specified handle and place it on the protected work surface. Avoid the drum surface and no-touch areas shown in the guide.
- Release the toner cartridge from the old drum. Many monochrome assemblies use a green lock lever; press only the release shown for the model and lift the toner by its handle.
- Unpack the new drum and remove only the protective materials identified in the instructions. Keep the unit away from unnecessary light while you complete the transfer.
- Lock the toner into the new drum. Align it with the guides and lower it into place. A correctly seated cartridge commonly locks with a click; check alignment instead of applying excessive force.
- Clean the corona wire only when the exact instructions require it. Move the green tab as directed, then return it precisely to the marked Home position; an off-home tab can cause a vertical line.
- Reinstall the combined assembly along its guides and close the specified cover. Do not begin a reset until the physical replacement is complete.
Physical Replacement and Counter Reset Are Separate
On the current Brother families cited here, drum life is tracked with a counter based on drum rotations. Resetting the counter acknowledges a new installation; it does not assess or restore the drum surface. Brother instructs users to reset only after a new drum has actually been installed. The examples below are boundaries, not a menu of methods to try. If the exact model is not listed in the cited guide, locate its own support page and follow that sequence only.
Verified Reset Examples by Model Family
| Documented family example | Documented reset route | Boundary |
|---|---|---|
| HL-L2400D, LED / Go panel | Power on; open front cover; hold Go about four seconds until all LEDs light; release; close cover. | Current U.S./Canada guide; use only for the listed control-panel group. |
| HL-L2405W / L2420DW / L2460DW / L2865DW, LCD + keys | Power on; front cover closed; press OK and Up together; select Drum with OK; select Reset. | Current U.S./Canada guide; button labels and order remain family-specific. |
| HL-L5000D / L5100DN / L5200DW(T) / L6200DW(T) / L6250DW | Power on; front cover open; hold OK about two seconds; show Drum Unit; press OK; press Up; close cover. | Brother USA support page for this named family only; this is not a generic Brother method. |
| HL-L2480DW / MFC-L2807DW / L2820DW(XL) / L2900DW(XL) / L2980DW, touchscreen | Power on; close front cover; clear the error; press and hold Toner until the screen changes; select Drum; select Yes. | Current U.S./Canada guide; touchscreen paths differ from non-touch models. |
These differences are operationally important. One family expects the cover open, another requires it closed, and a touchscreen family uses an on-screen path instead of the same physical keys. Trying methods from neighboring models can leave the counter unchanged and makes the service record unreliable. Write down the model family and the reset route actually used. That small record helps the next technician distinguish a physical installation problem from a counter that was never acknowledged.
If Replace Drum remains after a new unit is installed, Brother first directs users to the exact model-specific counter reset and then to contact Brother support if the message persists.
Check the Result Before Returning the Printer to Service
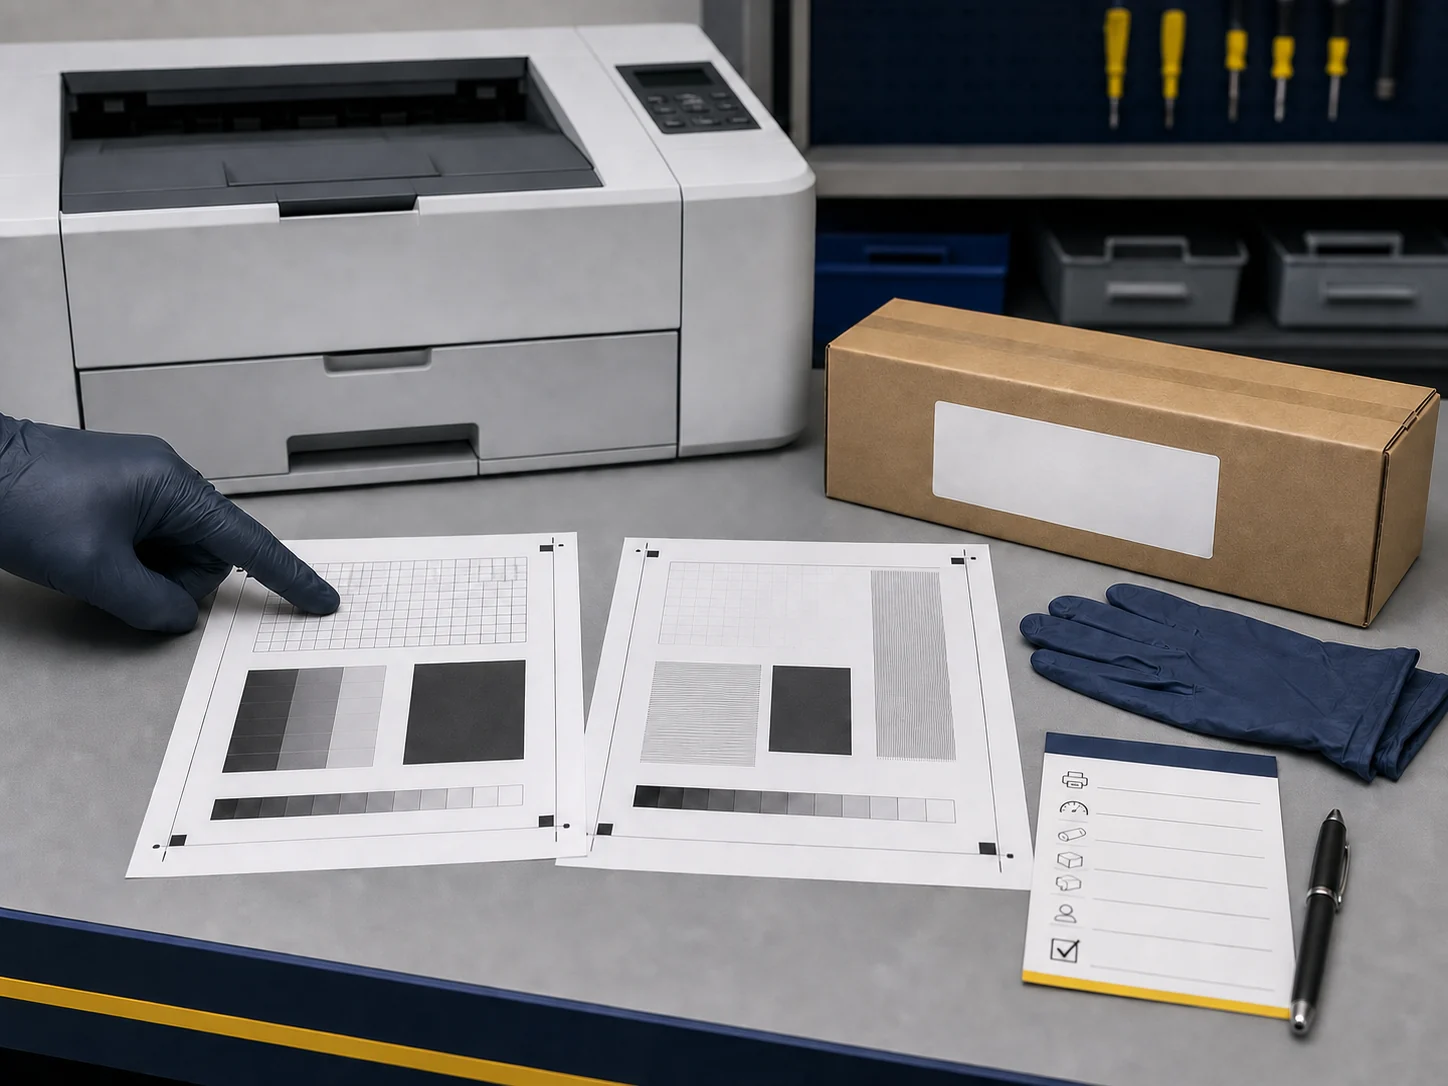
As a practical HBtoner service check, rather than a universal Brother replacement step, wait until the printer is ready and print a representative page. Review fine text, solid areas, grayscale, page edges, repeating marks, and abnormal mechanical noise.
- If a vertical line appears on a model with a corona-wire tab, confirm that the tab is back at its marked Home position.
- If Replace Drum remains, confirm that a new drum was actually installed and complete the exact official reset for the model and required cover state.
- Do not cycle through unrelated key combinations or hidden service menus. If the message persists after the correct reset, follow Brother's instruction to contact support.
- For a persistent print defect, return to the exact model's print-quality troubleshooting page. Toner, contamination, seating, or another printer component may need separate diagnosis.
Record Enough Information for Service and Purchasing
A useful replacement record can include the complete model and market suffix, meter reading if available, old and new drum references, the new drum lot or label code, the displayed message, the technician or operator, the counter-reset route used, and the post-install result. These are record fields, not a claim of universal drum life. In Brother USA's catalog, DR420, DR630, DR720, DR730, and DR820 are distinct references with different supported-model lists. Do not treat them as interchangeable, and do not assume those U.S. order numbers are global.
For the current product-category route, visit HBtoner Drum Units and still confirm the exact model, market, and agreed product specification before ordering.
B2B Intake Checklist Before an Order Is Consolidated
- Complete printer model and regional suffix for every device group.
- Official drum reference and a clear photograph of the installed or packaged label.
- Toner reference where the design uses a separate cartridge inside the drum.
- Destination country or market and the quantity required for each confirmed reference.
- Exact displayed message and any recent replacement or reset history for machines already in service.
- Any neutral-label, packaging, documentation, or shipment requirement that changes the quoted configuration.
Frequently Asked Questions
What does Replace Drum mean on a Brother printer?
It directs the user to replace the drum unit and then complete the model-specific counter reset after installation. Use the exact support page because related-looking models can use different controls and cover states.
Must I replace the toner cartridge when I replace the drum?
Not on models designed with separate toner and drum units. Brother describes them as separate consumables, so a usable toner cartridge is transferred into the new drum. Other architectures must follow their own model instructions.
Can I reset the drum counter before installing a new drum?
No. Resetting early makes the remaining-life indication inaccurate, and it does not restore the photosensitive surface.
Why is there a vertical line after drum replacement?
On models with a corona-wire cleaning tab, one documented cause is a tab left away from its marked Home position. If that does not apply or the defect remains, use the exact model's print-quality troubleshooting guide.
Are Brother DR420, DR630, DR720, DR730, and DR820 interchangeable?
Do not assume so. Brother USA lists them as distinct references with different supported-model lists, and order numbers can differ by country. Match the complete model, market suffix, and official drum reference before ordering.
Replace the Drum with the Model in Control
A reliable Brother drum replacement begins with exact identification, follows the physical procedure for the machine's real consumable architecture, and treats counter reset as a separate model-specific acknowledgement. That discipline reduces wrong-part orders, incomplete installations, and avoidable repeat service.
Compatibility and Independence Notice
Brand and product names are used only to identify compatibility. HBtoner is an independent supplier and is not affiliated with or endorsed by the original equipment manufacturers mentioned. Procedures, part numbers, control panels, and legal or warranty conditions vary by model and market; consult the exact manufacturer's documentation and applicable agreements.
Selected Official Sources
- Brother: Toner cartridge and drum unit are separate consumables - Defines toner and drum as separate consumables and identifies the drum as the Replace Drum target.
- Brother Online User's Guide: HL-L2400D / HL-L2405W / HL-L2420DW / HL-L2460DW / HL-L2865DW families - Current monochrome replacement, light-handling, corona-wire, LED/Go, and LCD-key reset guidance.
- Brother Online User's Guide: current HL/DCP/MFC monochrome families - Current separate-consumable, rotation-counter, key-panel, touchscreen, light, and corona-wire guidance.
- Brother: Replace Drum for HL-L5000/L5100/L5200/L6200/L6250 family - Documents the cover-open, hold-OK reset only for the named U.S. model family.
- Brother: Replace Drum message remains after installing a new drum - Explains that a missing reset can leave the message active and warns against resetting without a new drum.
- Brother: Replace the Drum Unit for HL-L3290/MFC-L37xx color family - Shows why per-color assemblies, top access, multiple corona wires, and color-specific reset differ from monochrome steps.