A practical guide to drum-unit function, drum vs. toner, model-dependent life, replacement clues, and the identifiers buyers need for accurate sourcing.
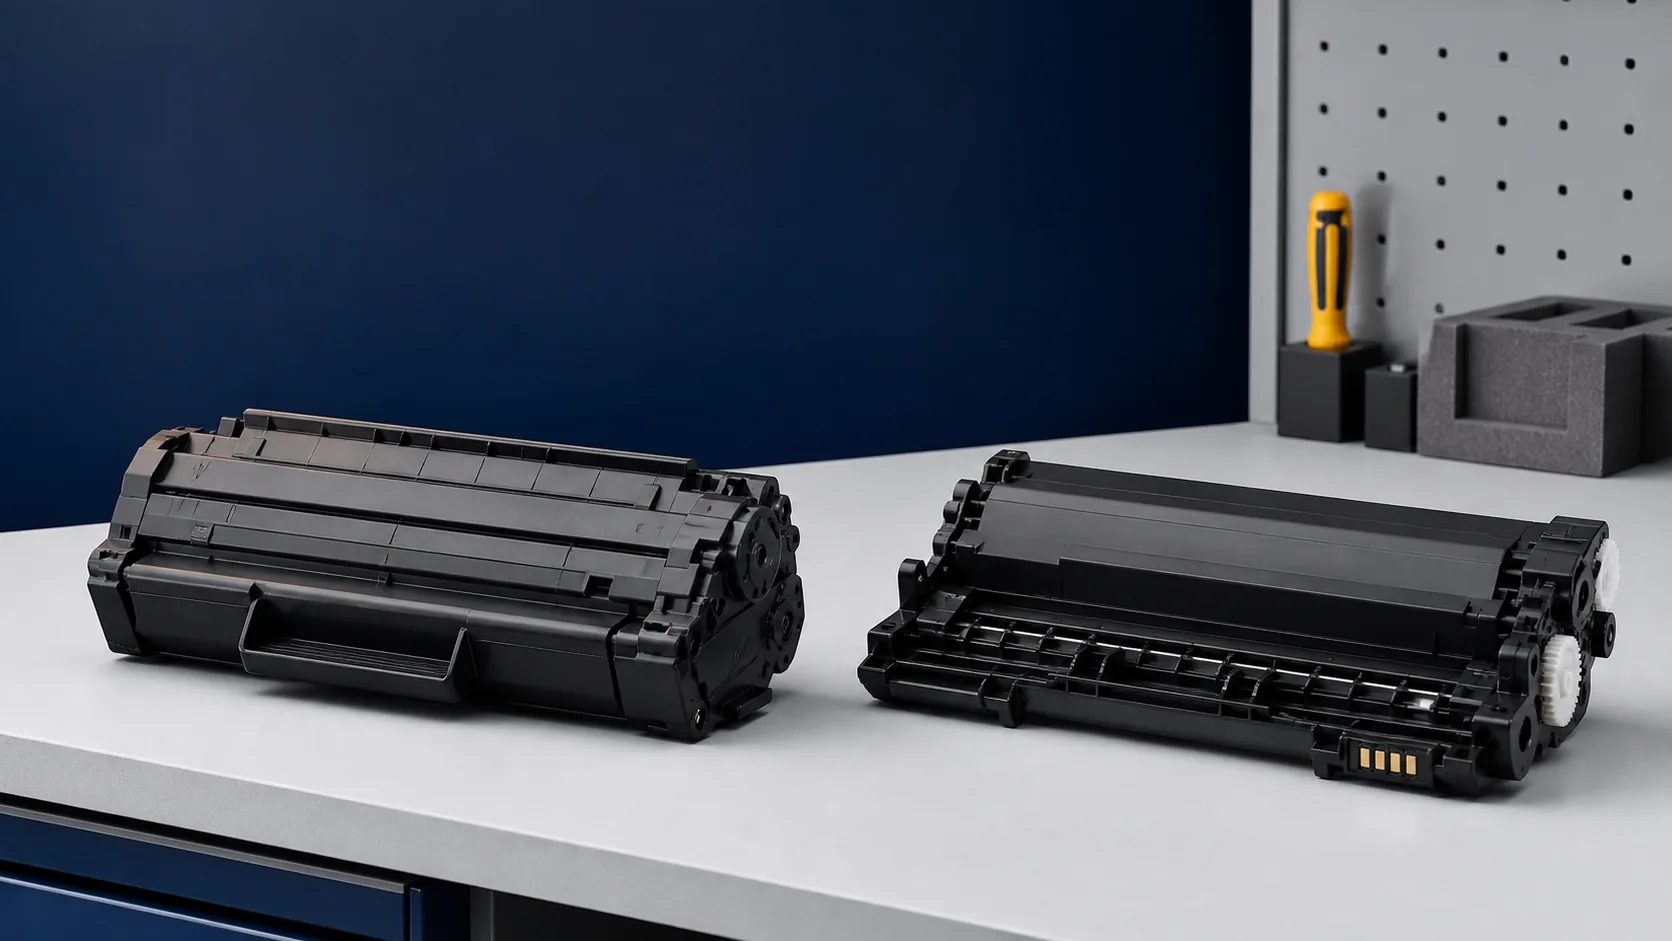
What is a drum unit? In a laser or LED printer, it is the replaceable imaging assembly that provides a photosensitive surface where the machine forms the electrostatic image for each page. Toner develops that image and passes through the transfer stage, while a separate fuser bonds the toner to the sheet with heat and pressure. A toner cartridge mainly stores and meters powder, so replacing toner will not repair a scratched or worn drum in a separate-consumable design. Some printers combine toner, photoreceptor, and developer functions in one cartridge, while others use a distinct drum or imaging unit. The exact architecture, not the word “laser” alone, determines what to order.
How a Drum Unit Helps Create a Printed Page
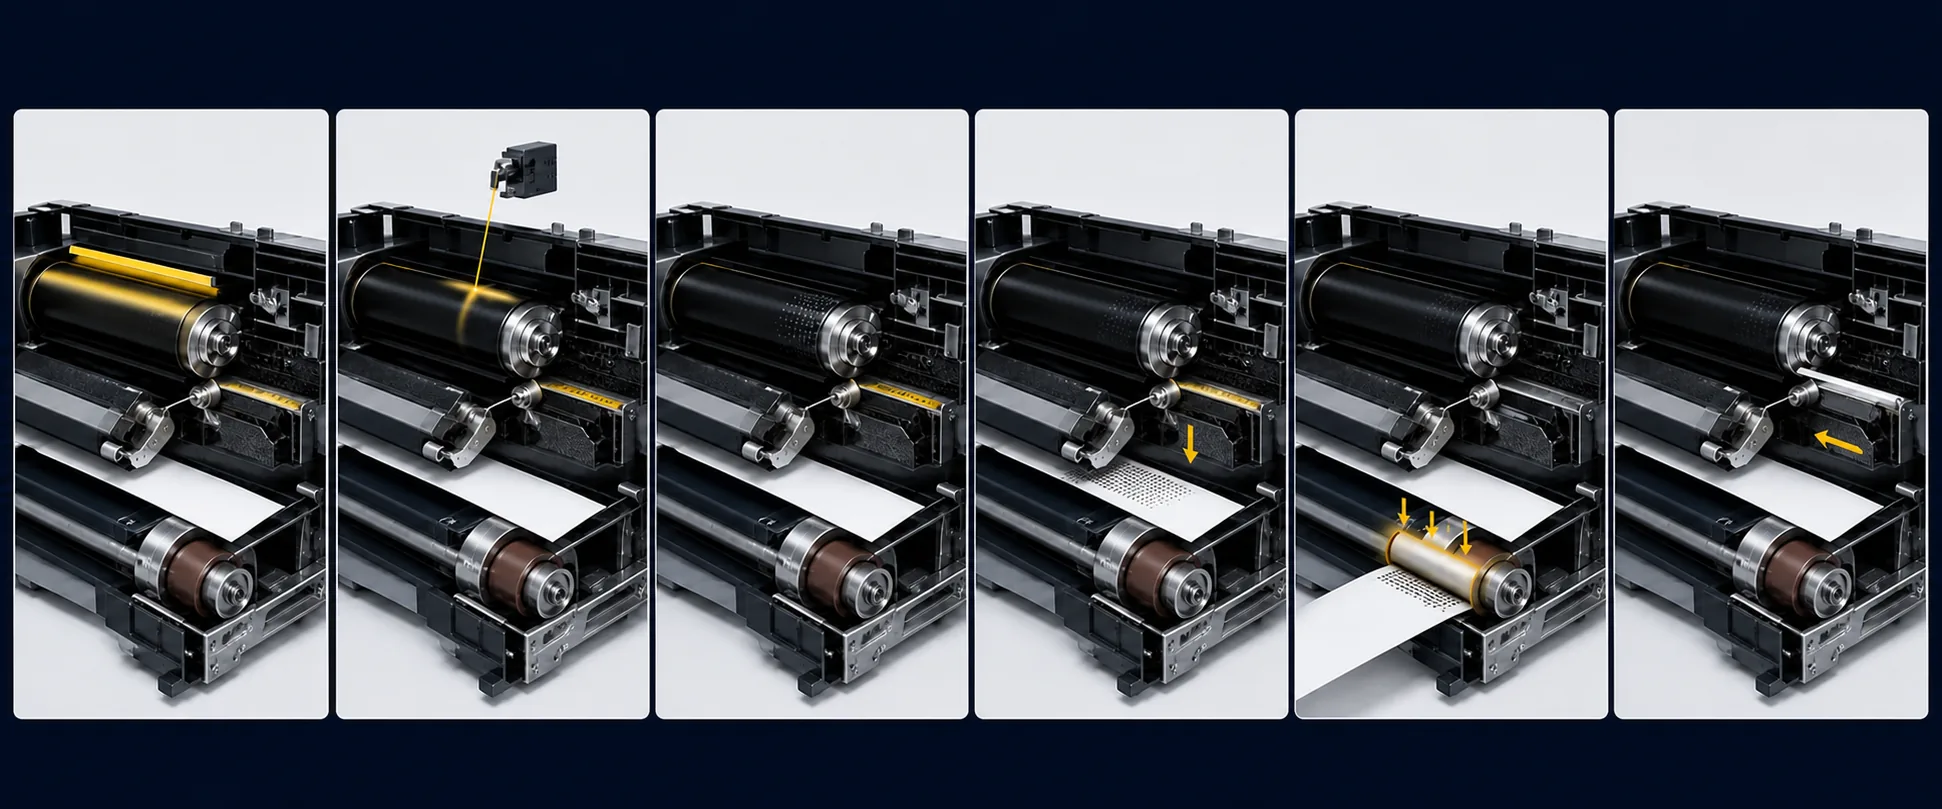
Laser and LED devices use electrophotography. The internal layout changes by model, but the printing system usually performs six linked functions:
- Charge: The photoconductor surface receives a controlled electrical charge.
- Expose: A laser or LED writes a latent electrostatic image on that surface.
- Develop: Charged toner adheres selectively to the image.
- Transfer: The toner image moves directly to the paper or first to an intermediate transfer belt.
- Fuse: A separate fuser bonds toner to the sheet with heat and pressure.
- Clean: A cleaning system removes residual material so the surface can be used again.
These are system-level functions; they do not all sit inside every drum unit. The drum provides the imaging surface, but transfer components, developer assemblies, cleaning parts, and the fuser may be separate depending on the machine.
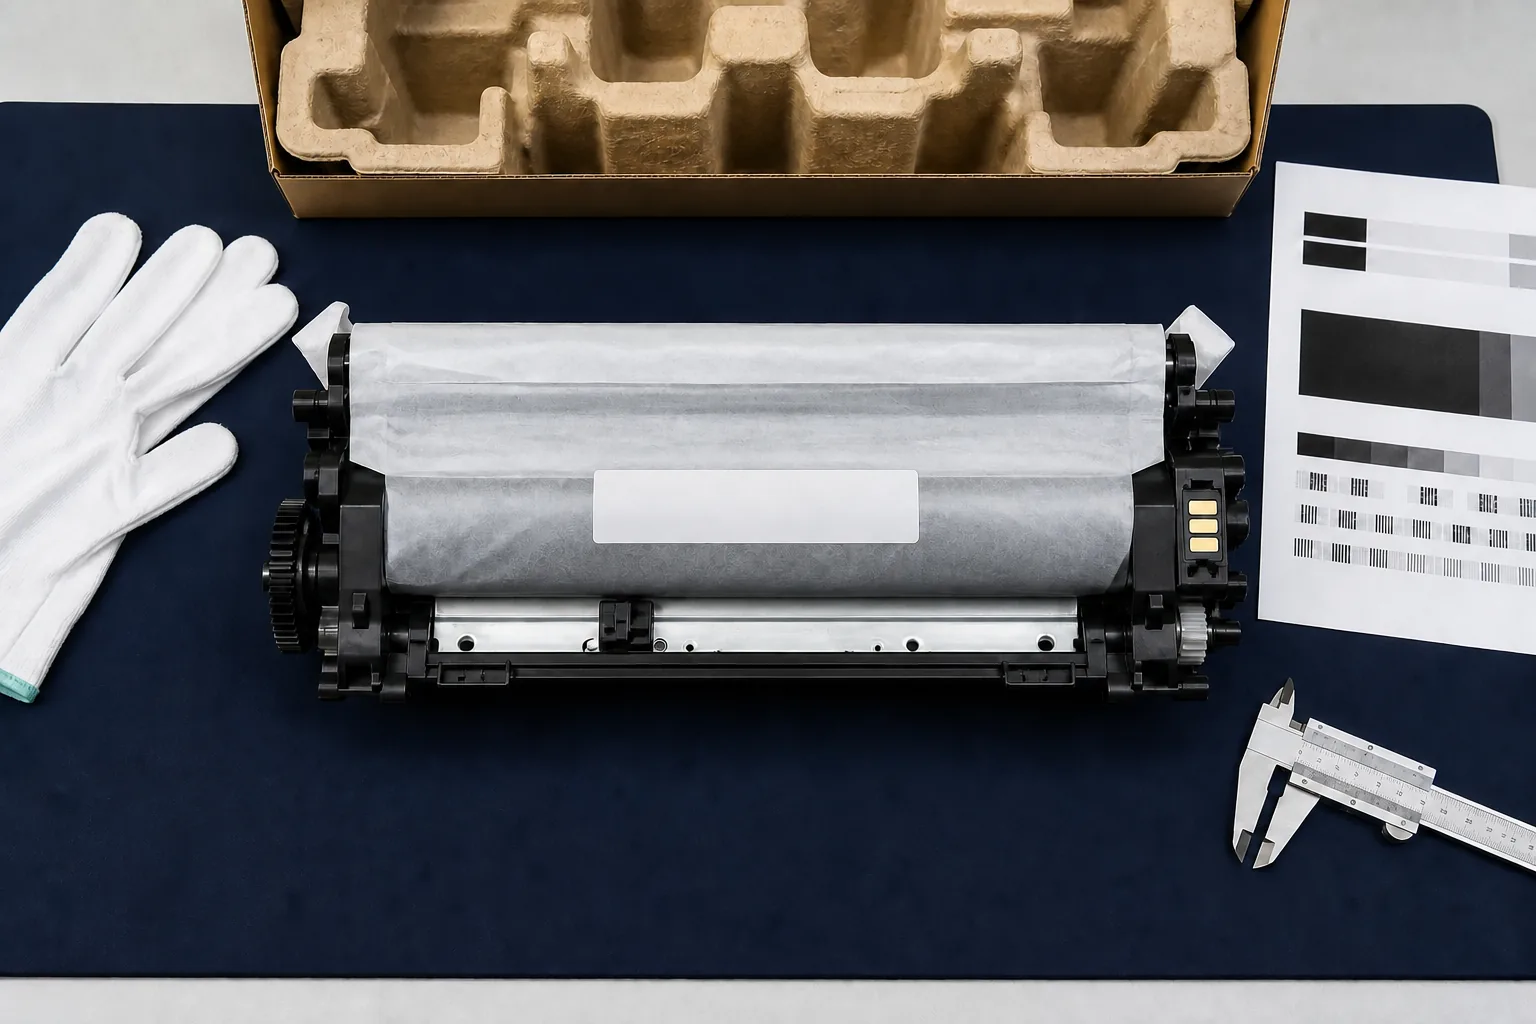
Protect the photoconductor from fingerprints, scratches, contamination, and light. Use only the designated grips, keep it covered until installation, and follow the exact model manual because handling steps differ.
Drum Unit vs. Toner Cartridge
In a separate-consumable design, the toner cartridge supplies the powder and the drum unit supplies the reusable imaging surface. You can normally replace toner without replacing the drum, or replace the drum while keeping a usable toner cartridge. In an integrated design, toner, photoreceptor, and developer elements are replaced together in one cartridge.
On separate-consumable machines, low-toner and replace-drum messages describe different service needs. Check the OEM consumables list and exact part description before ordering.
| Buying question | Toner cartridge | Drum unit or drum cartridge |
|---|---|---|
| Primary role | Stores and meters toner powder | Provides the photosensitive imaging surface |
| What replacement changes | Replenishes the toner supply | Renews the drum surface or imaging assembly |
| Typical service signal | Low or empty toner message, supported by diagnosis | Near-life message, diagnosed wear, or physical damage |
| Separate architecture | Replaced independently of the drum | May remain in service across multiple toner changes, depending on the model |
| Integrated architecture | Toner and photoconductor are replaced together | The drum is not a separately orderable consumable |
| Main buying checks | Formulation, seal, chip or region, density, and yield basis | Part number, surface protection, gears, contacts, fit, and life basis |
Why the Component Name Is Not Enough
“Drum cartridge,” “photoconductor unit,” and “imaging unit” can describe the drum alone or a broader assembly. A color machine may use one or several color-specific units, so rely on the exact OEM part number and parts diagram.
HBtoner’s product categories for printer toner cartridges and compatible drum units are useful starting points, but final compatibility still depends on the exact identifiers.
Need Help Identifying the Correct Item?
Tell HBtoner your destination country or market and send the OEM reference, complete model and suffix, quantity, and clear label photos. The configuration can then be reviewed before a sample or quotation is discussed.
What Affects Drum Service Life?
There is no universal drum lifespan or fixed toner-to-drum replacement ratio. An OEM may publish an estimated or rated imaging-unit life under stated conditions, but actual life depends on the printer’s counting method and operating conditions. Some devices estimate usage from rotations or modeled cycles rather than directly measuring the condition of the photoconductor surface.
Conditions that can influence service life include:
- job length and the frequency of startup or shutdown cycles;
- page coverage, media size, media type, and feed direction;
- temperature, humidity, storage conditions, and contamination;
- color calibration, cleaning behavior, and duplex operation;
- wear or condition of related developer, transfer, and cleaning components.
For comparison, record the unit of measure, color-image counting, paper size, coverage, job length, and mode. Confirm whether the quoted unit contains one drum, several color positions, a developer, or a waste section.
ISO/IEC 19752 and ISO/IEC 19798 are toner-cartridge page-yield standards for monochrome and color devices. They do not provide a universal drum-life test or guarantee print quality or reliability. Describe a drum figure as the OEM’s estimated or rated imaging-unit life under its stated conditions, then compare like with like.
Signs That Justify Drum Inspection
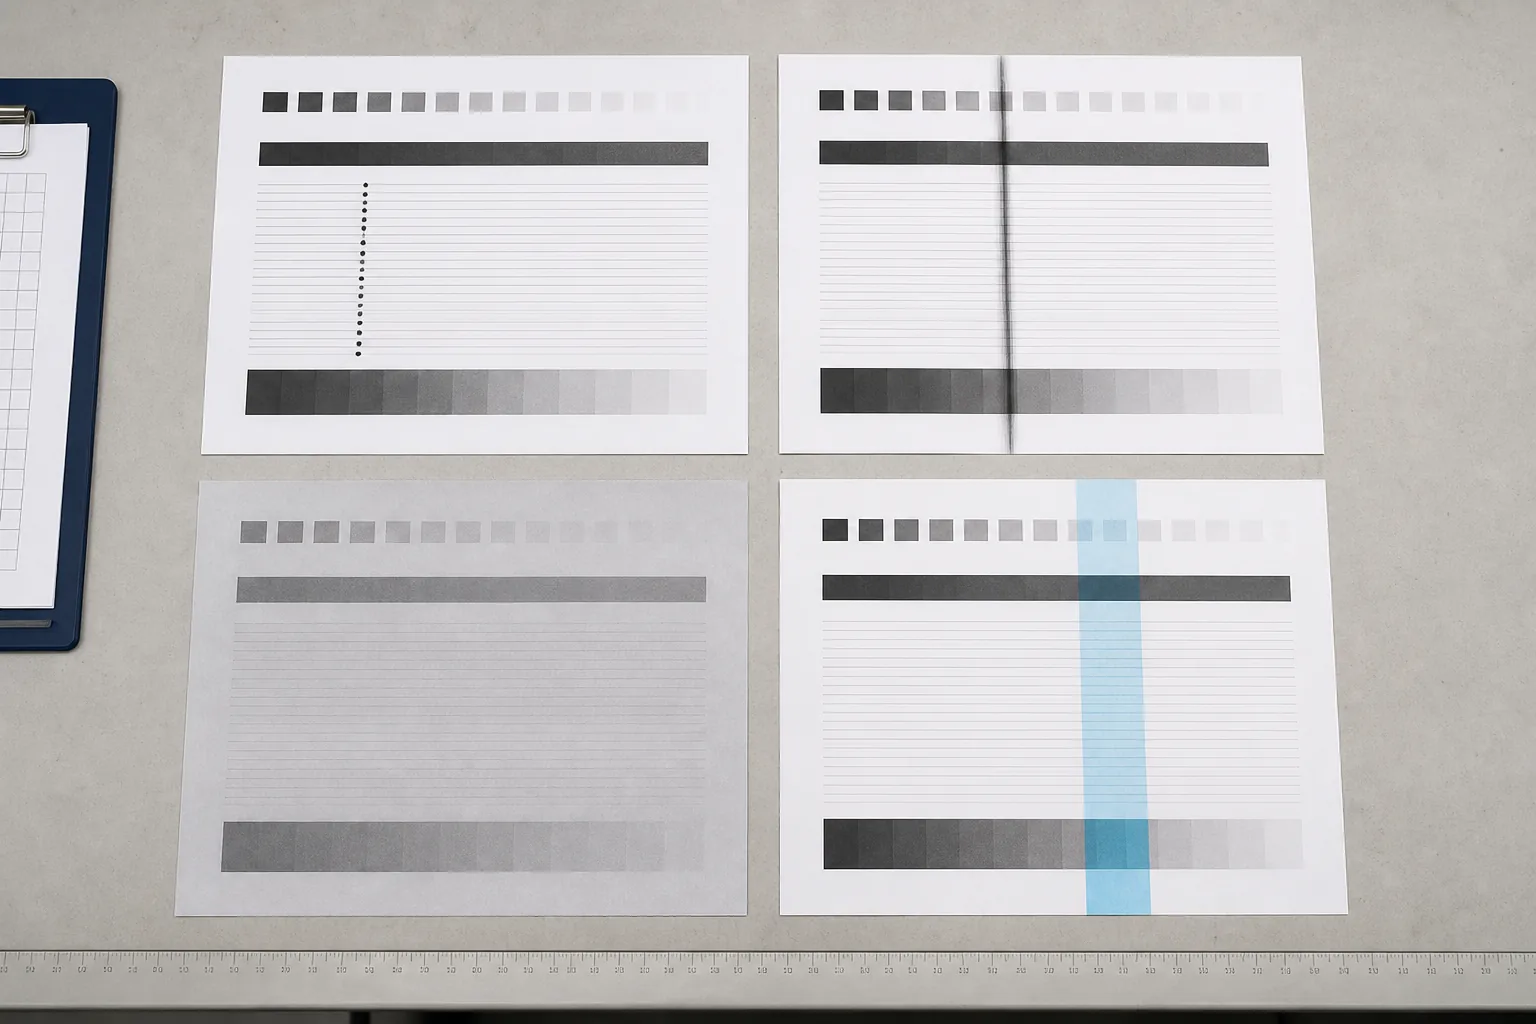
No single print defect proves that the drum is at fault. The same visible symptom can come from toner, paper, settings, contamination, transfer components, a developer, a fuser, or another roller. Treat the following as clues that justify model-specific checks:
- a fixed-pitch repeating mark in the process direction;
- a narrow line, spot, or localized void that persists;
- persistent background, ghosting, or uneven density;
- a defect limited to one color position on a color device;
- a genuine near-life or replace-drum message.
Print the device’s internal quality pages and note which colors, functions, or media paths are affected. Compare the result with the exact model’s troubleshooting guide; repeat distance is useful only with the correct service data.
Confirm the media and settings, review supply messages, and inspect only user-serviceable items as directed. Never use improvised chemicals or abrasives on the photoconductor. If the cause remains uncertain, keep the sample sheets and escalate with the model, message, and maintenance history.
Replace the Part; Do Not Treat a Reset as a Repair
A maintenance counter tracks estimated use; resetting it cannot repair a worn, scratched, or contaminated imaging surface. When the machine calls for a new unit and the diagnosis supports replacement, install the correct part and use only the acknowledgement or counter-reset procedure documented for that exact model.
Some machines recognize a new assembly automatically; others require a control-panel step. Power state, shipping-material removal, seating, and reset behavior vary, so never copy another model’s procedure, reset early, or bypass a sensor.
Safe model-neutral handling principles are:
- unpack the unit only when you are ready to install it;
- use the designated handles, keep the photoconductor covered, and avoid surface contact;
- place removed parts on a clean, flat, protected surface;
- remove only the shipping materials named in the manual, then seat the unit and close every cover correctly.
After installation, print the model’s recommended quality pages and check density, background, repeated marks, and color registration where relevant. If the warning remains, recheck part identity, seating, contacts, cover closure, and the official procedure before escalating.
B2B Drum Unit Buying and Incoming-QC Checklist
What to Send With an RFQ
A drum-unit inquiry is easiest to qualify when the buyer supplies identifiers before discussing price or life. For each RFQ or approval sample, provide:
- the exact OEM drum or imaging-unit reference;
- the complete printer or copier model and suffix;
- the destination country or market and relevant region or firmware context;
- the monochrome or color position, including K, C, M, or Y where separate;
- quantity, replenishment timing, and packaging, neutral-label, or private-label needs;
- clear all-side photos showing the label, contacts, gears, keys, and packaging;
- the life figure and measurement basis required in sales material;
- the displayed message, sample prints, device condition, and relevant service history.
What to Inspect on Arrival
For incoming QC, compare the label and keyed geometry with the approved reference, inspect protection and packaging, and check permitted moving parts, contacts, gears, shutters, sensor interfaces, seals, and fit. Use a controlled, SKU-specific print test rather than one checklist for every architecture.
Record the machine, settings, media, sample condition, acceptance criteria, and result. Do not present one imaging-unit result as a universal guarantee or substitute toner yield for drum evidence.
Buyers can review HBtoner’s compatible drum units, printer toner cartridges, and copier toner cartridges as category starting points. For residual-toner handling, see the waste toner box and container guide; that receptacle is a different component and should not be confused with the drum.
Frequently Asked Questions
What does a drum unit do in a printer?
It provides the photosensitive surface on which the printer forms a latent electrostatic image. Toner develops that image and moves through the transfer stage, while the fuser bonds the toner to the sheet.
Is an imaging unit the same as a drum unit?
Sometimes, but not always. An imaging unit can contain the drum plus developer, cleaning, waste, or other elements, so confirm the OEM part description for the exact model.
Can I replace toner without replacing the drum?
Yes, when the printer uses separate consumables and the drum remains serviceable. In an all-in-one cartridge, the toner and photoconductor are part of the same replaceable item.
Can a printer drum be cleaned?
Only perform cleaning permitted by the exact model manual. Never touch the photoconductor or use improvised chemicals, abrasives, compressed air, or a household vacuum. Persistent defects may require replacement or service elsewhere.
Why did a new drum not clear the warning?
The part may be incorrect, not seated, or waiting for the model’s documented acknowledgement. A contact, sensor, cover, or machine fault may also be involved. Recheck the official procedure and part number; a reset cannot replace the required part.
Specify the Architecture Before You Buy
The practical difference between a drum unit and a toner cartridge is simple: toner supplies the powder, while the drum provides the photosensitive imaging surface, unless the printer combines them in one replaceable cartridge. Confirming the architecture prevents an empty toner supply from being mistaken for an imaging problem and prevents a damaged drum from being treated as a toner shortage.
Request a Compatibility and Configuration Review
Send HBtoner the OEM reference, complete printer or copier model and suffix, destination country or market, quantity and replenishment timing, and clear label and all-side photos. Include the displayed message, color position, firmware or region context, packaging or private-label requirements, and any sample print when relevant so HBtoner can review the configuration before quotation.
Official References
- Canon: Laser Printer Technology
- Brother: Difference Between Toner Cartridge and Drum Unit
- ISO/IEC 19752:2025 and ISO/IEC 19798:2025
- HP: Replace the Imaging Drum
- Brother: Reset the Drum Counter
Brand and product names are used only to identify compatibility. HBtoner is an independent supplier and is not affiliated with or endorsed by the original equipment manufacturers mentioned.