Check toner smearing and rub-off with paper and media settings, controlled comparisons and model-specific service guidance before ordering replacement parts.

When toner smears or rubs off a printed page, start by checking the supported paper and the media settings in both the machine and driver. A visible smear does not establish that the fuser has failed; paper condition, settings, the consumable and the print process may all need investigation. This guide helps service providers and distributors preserve evidence, make controlled comparisons and prepare the right information before a repair or replacement quotation.
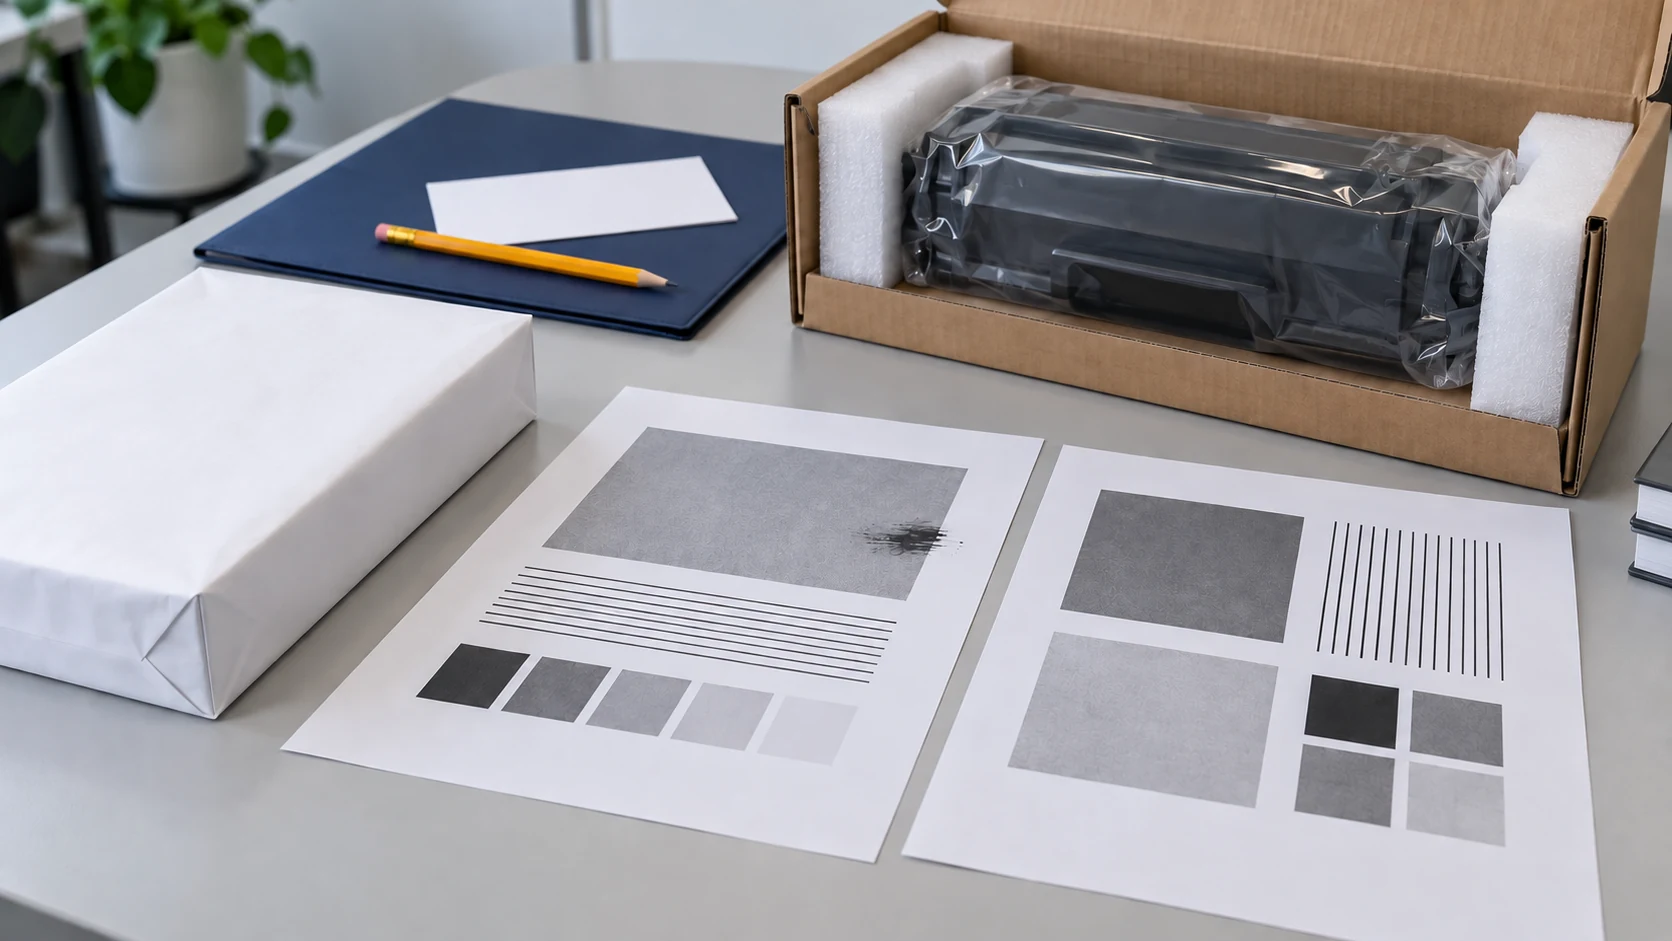
Cover image: Separate illustrative sheets show differences in print appearance. They are not a before-and-after rub test, a confirmed diagnosis or an HBtoner test result.
Preserve the original page before checking adhesion
Keep an untouched sample and record whether the mark was present when the page emerged or appeared during later handling. Let the printed sheet cool before normal handling, following the paper and machine instructions. Photograph the affected surface and, where relevant, the reverse side; note whether toner detaches, an image repeats, or the sheet was already marked before handling.
A hand rub with a finger or tissue is not a universal acceptance test. Force, contact material, repetitions and the printed area affect the comparison, so a casual rub cannot supply a transferable pass/fail threshold. If an official diagnostic or an agreed sample-evaluation method includes an adhesion check, document that method and keep both the original and checked sheets.
Check the paper and settings as one configuration
Read the exact model's supported-media instructions before testing unfamiliar stock. Record the physical paper, its permitted tray and mode, and the settings actually sent with the job; a driver default may differ from the tray setting.
On narrow screens, swipe horizontally to compare all columns.
| Record | What to capture | Why it matters |
|---|---|---|
| Paper identity | Brand or product reference, size, weight and surface; retain the wrapper | Compare the actual stock with the approved media specification |
| Machine support | Exact model, permitted tray, simplex or duplex restrictions | A supported paper may have different limits by tray or mode |
| Tray configuration | Actual loaded paper and the size/type selected on the machine | Check that the machine describes the stock it is using |
| Job configuration | Paper type selected in the application or driver, requested tray and relevant print mode | Find mismatches between the job and the machine |
| Paper condition | Opened-package history, storage and visible curl or damage | Make a comparison with fresh, approved paper meaningful |
Keep unused paper protected in its packaging and follow the paper supplier's storage and conditioning instructions. Use labels, envelopes or coated stock only when the exact machine supports them, including its feed and duplex restrictions. Reject damaged label sheets or exposed adhesive, and do not assume a partially used sheet can be fed again.

Make comparisons on the same machine
After recording the starting configuration, follow the model's troubleshooting sequence and change one permitted variable at a time. An internal report or quality page can provide a repeatable reference, but it may not reproduce the coverage or media conditions of the customer's job. Keep the test file, paper and relevant settings comparable, and label each sample with the change that produced it.
On narrow screens, swipe horizontally to compare all columns.
| Comparison result | Next useful check | What it does not prove |
|---|---|---|
| Approved plain paper is satisfactory; another stock is not | Recheck that stock, permitted tray/mode and its matching media settings | That the fuser will perform correctly with every supported stock or workload |
| Correcting a media mismatch improves adhesion | Retain the original and corrected settings with the paired samples | A broader qualification of the toner or paper |
| A permitted substitution improves the same job | Record the correct consumable references, lots and unchanged conditions | That every cartridge in the previous lot is defective or that permanent damage occurred |
| The problem persists on approved paper with matched settings | Send the recorded comparisons for model-specific service diagnosis | Which fuser, transfer or consumable component must be replaced |
Substitute a consumable only when the machine's instructions permit it and the replacement has the correct model and market configuration. Where available, use a correctly specified reference consumable with a documented satisfactory result, and record its history. Physical fit alone is insufficient, and mixing toner or altering a cartridge is not a controlled substitution.
Use fusing adjustments only when the model allows them
Start with a paper type that accurately matches the stock. Some official troubleshooting guides then allow a specific fixing-improvement option or an alternative media setting for a defined symptom. For example, Brother's toner-rub-off guidance for the DCP-L2510D family includes Improve Toner Fixing and a later paper-type adjustment in its own sequence. That does not authorize the same option on another machine or for another stock.
Record the original setting, the permitted change and the result before deciding whether to retain it under that model's guidance. Do not invent a temperature target, select increasingly heavier modes by trial and error, or change service parameters to conceal a persistent defect.
Keep fuser and transfer diagnosis within the service procedure
Persistent poor adhesion can require investigation of the fuser, consumable or earlier print stages; a photograph cannot separate those causes reliably. Follow only the operator checks stated for the exact machine, then escalate when the next step requires service access. A cooled sheet does not mean the fuser is cool enough to approach. Observe the model's shutdown, power-isolation and cooling instructions wherever access is permitted.
Do not remove service covers, bypass a thermal device or interlock, or interrupt the print cycle to expose an unfused image as a general troubleshooting trick. If unusual heat, smoke, odor, noise or significant toner leakage occurs, stop using the machine and follow its safety instructions and service route.
Prepare the service record and sample acceptance criteria
- Identify the complete machine model and suffix, country of use, messages, meter count and recent maintenance.
- Retain the consumable reference and lot, paper wrapper, actual tray/driver settings and any permitted changes.
- Keep untouched and evaluated samples separately, with the file or pattern, affected side, handling history and comparison result.
For a distributor's sample evaluation, agree the machine and market configuration, paper range, test content and documented acceptance method before testing. Specify who evaluates the samples and how adhesion, unwanted image repetition and contamination will be recorded.
Identify original and compatible supplies accurately using the OEM-versus-compatible guide.
Frequently asked questions
Does toner rub-off always mean the fuser needs replacement?
No; check supported paper, matched settings and the recorded comparison results, then use the exact model’s diagnostics to decide whether a component requires replacement.
Can I use Thick Paper mode on ordinary paper?
Begin with the setting that matches the actual paper; use an alternative only when the exact model’s official troubleshooting instructions explicitly allow it for that condition.
Why does toner detach only at one edge?
The position is useful evidence, but it does not identify the cause; record the paper, orientation and affected area, then compare supported stock before requesting model-specific service checks.
Does improvement after changing toner prove a cartridge fault?
A controlled improvement warrants reviewing the tested consumable and configuration; it does not by itself establish the cause, the quality of the whole lot or the fuser’s condition.
Is there a universal tissue-rub pass mark?
This guide defines none; use the applicable official method or agree and document a project-specific evaluation method before treating the result as acceptance evidence.
Discuss the replacement configuration with HBtoner
For a compatibility review or B2B quotation, send the OEM reference, full model and suffix, installation country, quantity and paper/application details. Provide the service findings and sample photos during follow-up, including voltage or revision details when relevant to the identified replacement. HBtoner coordinates the appropriate source and specification through a manufacturing network for the product and destination; a symptom description alone cannot confirm a repair or product configuration.
Send your machine and consumable details to HBtoner.
Manufacturer names are used for identification and reference; HBtoner is independent of, and not affiliated with or endorsed by, those manufacturers.