Investigate copier lines, spots and ghosting with output-path comparisons, model-specific repeat checks and an evidence record before ordering replacement parts.
To investigate copier print quality problems, first compare how the mark appears on internal pages, copies and computer prints, then record its pattern under known paper and print settings. Lines, spots and ghosting can have several causes; appearance alone does not identify a failed drum, blade or toner product. This guide helps service providers and distributors collect useful evidence, choose the next permitted check and specify a replacement after diagnosis.
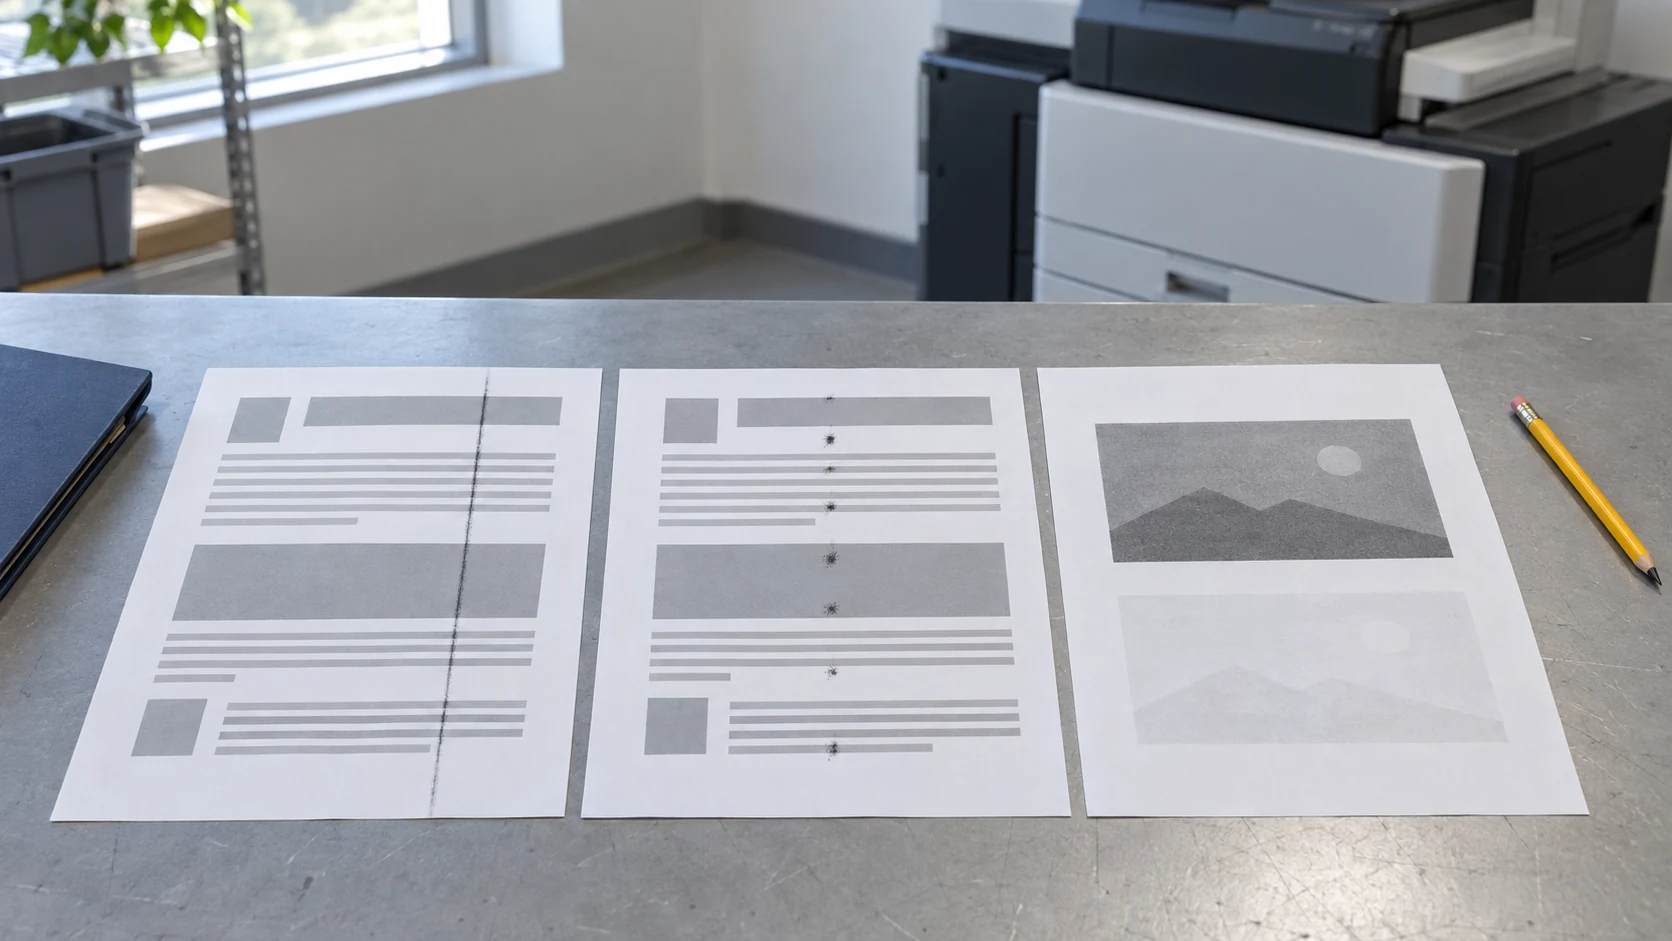
Cover image: Illustrative examples of a line, repeated spots and ghosting on separate sheets. They show symptoms, not their cause or HBtoner test results.
Compare the output paths first
Keep the original faulty sheets, then use supported paper and the matching tray and driver media settings. Print the machine's built-in quality or report page as instructed, copy a clean original from the flatbed and, where fitted, compare an automatic document feeder copy. Use the results to narrow the next check, rather than to declare a component faulty.
On narrow screens, swipe horizontally to compare all columns.
| Observation | First area to investigate | Important limit |
|---|---|---|
| Internal print clean; ADF copy marked; flatbed copy clean | Original and ADF scanning path, including the narrow scanning glass where applicable | Inspect or clean only as the exact model permits |
| Internal print clean; copies marked | Original, scanning surfaces and copy settings | A clean report may not trigger an intermittent or coverage-dependent print defect |
| Similar mark on internal prints and copies | Shared print process, supplies, paper and media settings | This does not identify a particular consumable |
| Defect appears only from one computer or file | File, application, driver and selected print settings | Compare equivalent content and settings before ruling out hardware |
Brother's model-specific support guidance uses printing, flatbed copying and feeder copying to separate possible scanning-path problems. If scanning to a file is available, retain the digital scan and compare it with the clean original to see whether the mark is present before printing. Apply that comparison method with the instructions for your machine; the cleaning materials and access steps do not transfer automatically between models.
Record the pattern before changing anything
Keep consecutive sheets in order and identify the actual leading edge and paper-feed direction. Describe a line as parallel to or across paper travel only after that direction is known; “vertical” on a portrait photograph can be misleading.
- Record the affected side, color, location, width and whether the mark repeats or changes between sheets.
- Measure between corresponding points on repeated marks, such as center to center, on the original physical sheet, not on a resized photo or scaled copy.
- Keep paper identification, media settings, simplex or duplex mode, and any recent supply or maintenance change with the samples.
Compare any repeat distance with the exact model's official repetitive-defect chart or built-in diagnostic page. For example, Xerox documents a Repeating Defects page for the AltaLink C8230 series; a distance from another printer's chart is not a reliable part identifier.

Use each symptom to choose the next check
The table below lists possible areas, not diagnoses or instructions to open them. The exact model's defect guide, paper requirements and service procedure remain the reference for deciding what to do.
On narrow screens, swipe horizontally to compare all columns.
| Visible symptom | Possible areas after path checks | Next useful evidence |
|---|---|---|
| Dark line or streak | Scanning path if copy-only; otherwise imaging, cleaning, charging or toner delivery | Output path, process color, fixed position and recent changes |
| White line or missing area | Optical path, toner delivery, imaging or transfer | Whether the same zone is missing in different patterns and permitted quality tests |
| Regularly repeated spots | A rotating imaging, transfer or fusing component, depending on the model | Original-sheet spacing, side and position compared with the exact-model chart |
| Faint repeated image or ghosting | Imaging or cleaning behavior, paper and media settings, or fusing | Repeat interval, affected media and any reported adhesion or gloss change |
| Back-side marks or duplex-only contamination | Paper path, duplex path, transfer or fusing areas | Front and back of the same sheet, simplex comparison and jam history |
Brother's print-quality guide assigns more than one check to symptoms such as ghosting, streaks and repeated spots, which is why a photograph should not become a parts order by itself.
Identify the assembly before choosing a part
A drum carries the image-forming surface, but its packaging varies: some designs combine it with toner, while others use a separate drum unit. Changing a combined assembly cannot, by itself, show which internal component caused the improvement.
Review the drum-unit guide to identify what your machine replaces separately.
If service diagnosis identifies a blade or roller, record its exact assembly and part reference from the model-specific documentation. A label such as “blade problem” does not specify which part to order or which replacement procedure applies. Color and component history can help a technician select the next model-specific test, but do not justify opening other stations or dismantling a drum, developer or fuser.
Change one permitted variable at a time
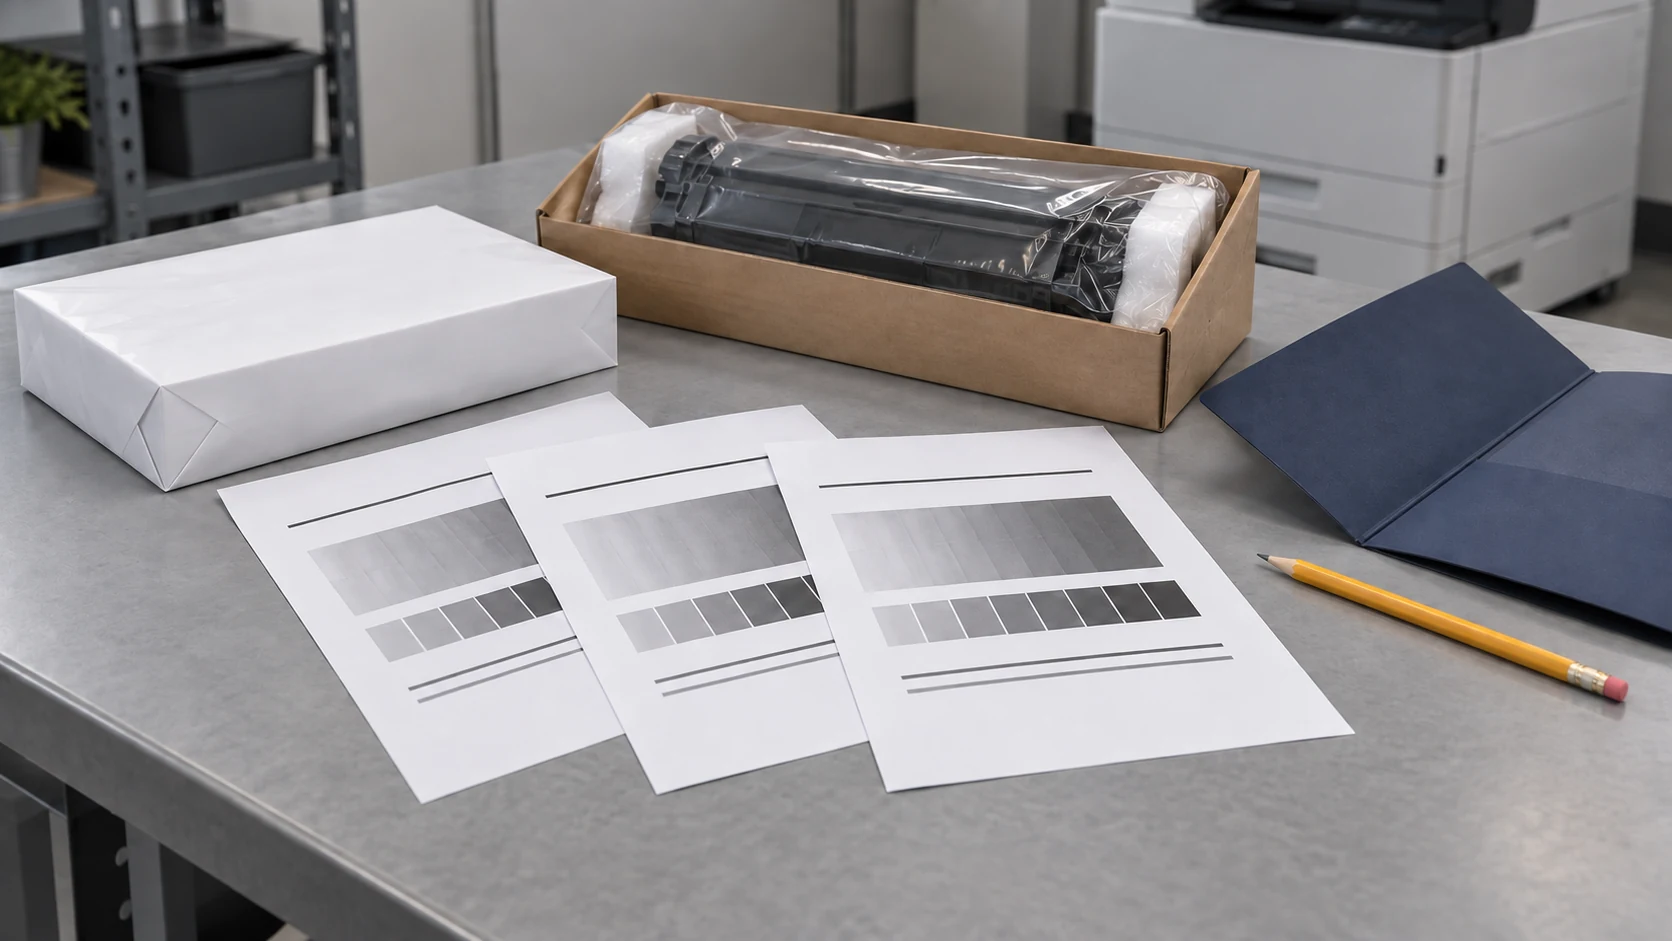
Begin with the paper and settings checks in the operator guide, then use only the cleaning, calibration or consumable-replacement steps it authorizes. If a compatible, known-good consumable is used for comparison, record its reference and lot and repeat the same output under the same conditions. Improvement is evidence about that controlled substitution; it is not proof that every unit in the previous lot is defective.
Do not wipe a photosensitive drum with alcohol, touch its surface or improvise a cleaning tool; use only the exact model's approved materials and procedure. Do not reach into hot or electrically hazardous areas or bypass covers and interlocks to observe the process. If the next check requires service access, or the fault persists after the permitted operator checks, stop and escalate with the recorded evidence.
Send evidence before ordering replacement parts
A service escalation or supplies claim is easier to investigate when the samples and replacement history belong to the same identified machine.
- Machine: complete model and suffix, country of use, meter count, displayed messages and available firmware information.
- Supplies: toner and drum references, product labels, lot codes, installation dates and any substitutions already made.
- Output: original consecutive sheets, front and back where relevant, feed direction, measured spacing, source path, paper and settings.
- Timeline: when the problem began, whether it is intermittent, recent jams or maintenance, and the result of each permitted change.
Identify original and independently supplied compatible products accurately in the record; product category alone neither proves nor rules out a defect.
Use the OEM-versus-compatible guide for product identity and procurement context.
Frequently asked questions
Do lines always mean the drum is damaged?
No; first compare output paths and record the line position, feed direction and color, because scanning, imaging, cleaning, toner delivery and other model-dependent causes can look similar.
Can I identify a drum fault from the repeat distance?
The distance is a useful clue only when measured on the original sheet and compared with the exact model and relevant component documentation; a generic chart or scaled image is insufficient.
Why does ghosting appear only on heavier paper?
Check whether that paper is supported and whether the tray and driver media selections match it, then follow the model-specific quality guide; the symptom does not by itself condemn the fuser or toner.
Should the drum and toner be replaced together?
Follow the machine's assembly design, diagnosis and official replacement requirements; separate supplies do not automatically require simultaneous replacement, and an integrated assembly limits what a substitution can isolate.
What should a distributor send for a quality claim?
Send the exact machine and supply identities, lot codes, paper and settings, original sample evidence and the controlled-change history so the supplier can investigate a defined configuration.
Discuss the replacement configuration with HBtoner
For a compatibility review or B2B quotation, send the OEM reference, complete machine model and suffix, country of use, required quantity and the evidence record above. HBtoner coordinates the appropriate source and specification through a manufacturing network for the product and destination, and can discuss the proposed supply configuration and sample checks. A parts quotation should follow the identified configuration and diagnosis, rather than a symptom label alone.
Send your machine and consumable details to HBtoner.
Manufacturer names are used for identification and reference; HBtoner is independent of, and not affiliated with or endorsed by, those manufacturers.